10 Weeks to Tip Top Shape
Week 7: Getting a Room Prepped for Painting
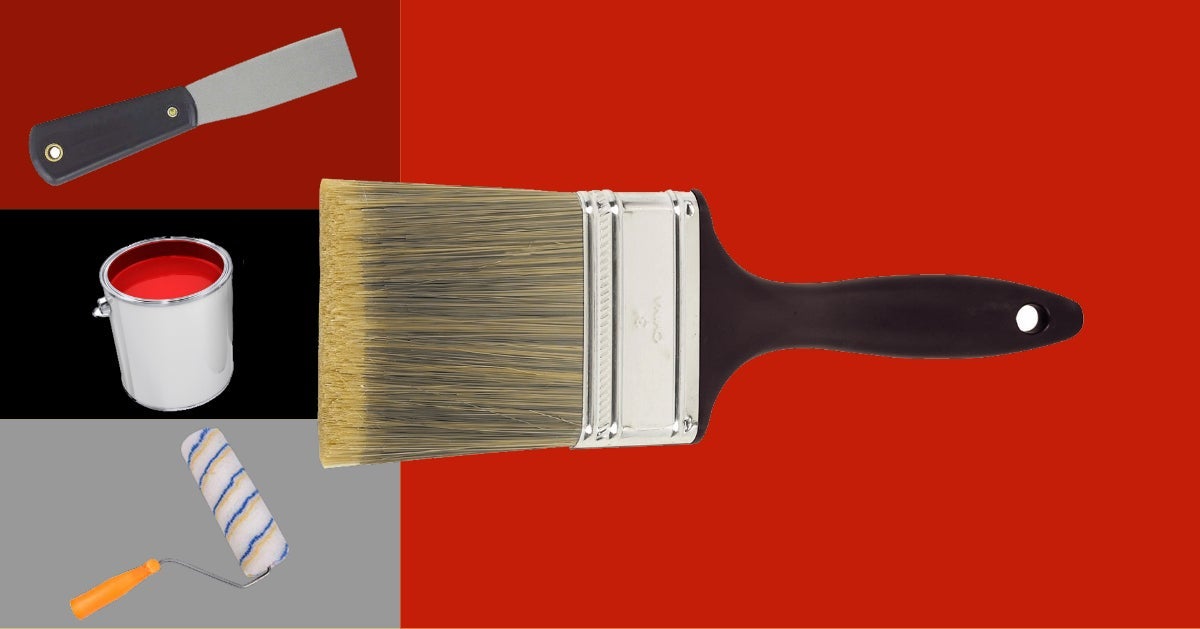
Original post by Benjamin Moore http://bit.ly/GetPreppedMM
Preparation is the key to any successful painting project.Begin by removing as much furniture as possible from the room. Use drop cloths to cover the floor and any remaining furniture. While plastic is ideal for furniture, canvas drop cloths absorb paint, are not slippery, will not move, and can be reused.Next, remove any pictures, mirrors, window treatments, and electrical/light switch plates. Loosen the ceiling plates of hanging light fixtures and cover the fixtures.Because surface dirt can cause poor adhesion, use a light detergent to wash surfaces that are soiled, that are touched often, or that may have any oily residue from cooking. Take care not to leave any residue from the detergent.Wash doors and trim, particularly where they are handled. After they are clean, wipe surfaces with a damp cloth and allow them to dry before painting.
To fill mitered trim joinings (which are open) and door or window trim that is separated from your wall, press the compound into the crevices, and smooth it with your finger. Allow it to dry and then sand lightly.Because patching compound shrinks when it dries, it is often necessary to apply the compound a second time after the first coat has dried.
Pen, Crayon, and Water Stains
Use a liquid detergent to remove as much of the markings left by pens, crayons, and water stains as possible, and wipe with clean water.For any remaining marks, spot prime the affected areas with Fresh Start® QD-30 Int. / Ext. Alkyd Sealer to prevent "bleeding" through the finish coat.Glossy Surfaces and Imperfections
To ensure proper adhesion, sand glossy surfaces with fine sandpaper. Be sure to remove sanding dust. Vacuum surfaces clean and wipe with a tack cloth.Examine floor, wall, and ceiling surfaces for nail holes, cracks, or any other surface imperfections. Use a putty knife to rake out any large plaster cracks or loose particles in your walls and ceilings.Spackling
Firmly press spackling compound into crevices with a putty knife and smooth until the compound is flush with the surface.To fill mitered trim joinings (which are open) and door or window trim that is separated from your wall, press the compound into the crevices, and smooth it with your finger. Allow it to dry and then sand lightly.Because patching compound shrinks when it dries, it is often necessary to apply the compound a second time after the first coat has dried.